I love to bake and all my family, friends and all at the school that my daughters go to know it. There are pros and cons to this but the great thing is that I can whip up something super simple if I feel the need with quite a short amount of notice although allowing for the children, their prearranged activities and homework that is. My friend is having a baby soon and the day before her baby shower I discovered that there were quite a few things yet to do, one of which was to buy a cake. I jumped to the rescue saying I would arrange a cake.
So what to make? Well she is having a baby boy so why not a baby cake!
I thought that you guys might like to see how it’s done so I took a few photo’s whilst making it to share with you.
First of all you need 2 sponges, an 8 inch and a 9 inch round.
Not so good at making cakes, don’t worry, you can buy readymade or use Betty Crocker mixes.
I made these using a simple vanilla sponge recipe.
 These need to be put in the fridge or freezer but only once cooled (don’t allow to freeze) before you fill the centre so that the sponge hardens a little and is easier to cut without falling apart.
Remove from fridge / freezer, halve and cover one half with buttercream and the other with a fruit jam of your choosing. I normally use raspberry, strawberry or black cherry.
Sandwich together then add a layer of buttercream over the top and side. Place in the fridge until you are about to lay the icing over.
Take about 2kg (a little extra won’t hurt and allows for those that don’t roll a very good round) of sugar paste icing and add pink food colouring until it reaches the colour you want. This will be enough to coat both cakes. The thickness of the icing you use will affect the amount you will need. Important tip: make sure your kitchen isn’t to warm and you handle the icing as little as possible or it will become warm and sticky and may tear more easily. It’s best to put the icing in the fridge in a sealed freezer bag before rolling to allow it to cool after handling.
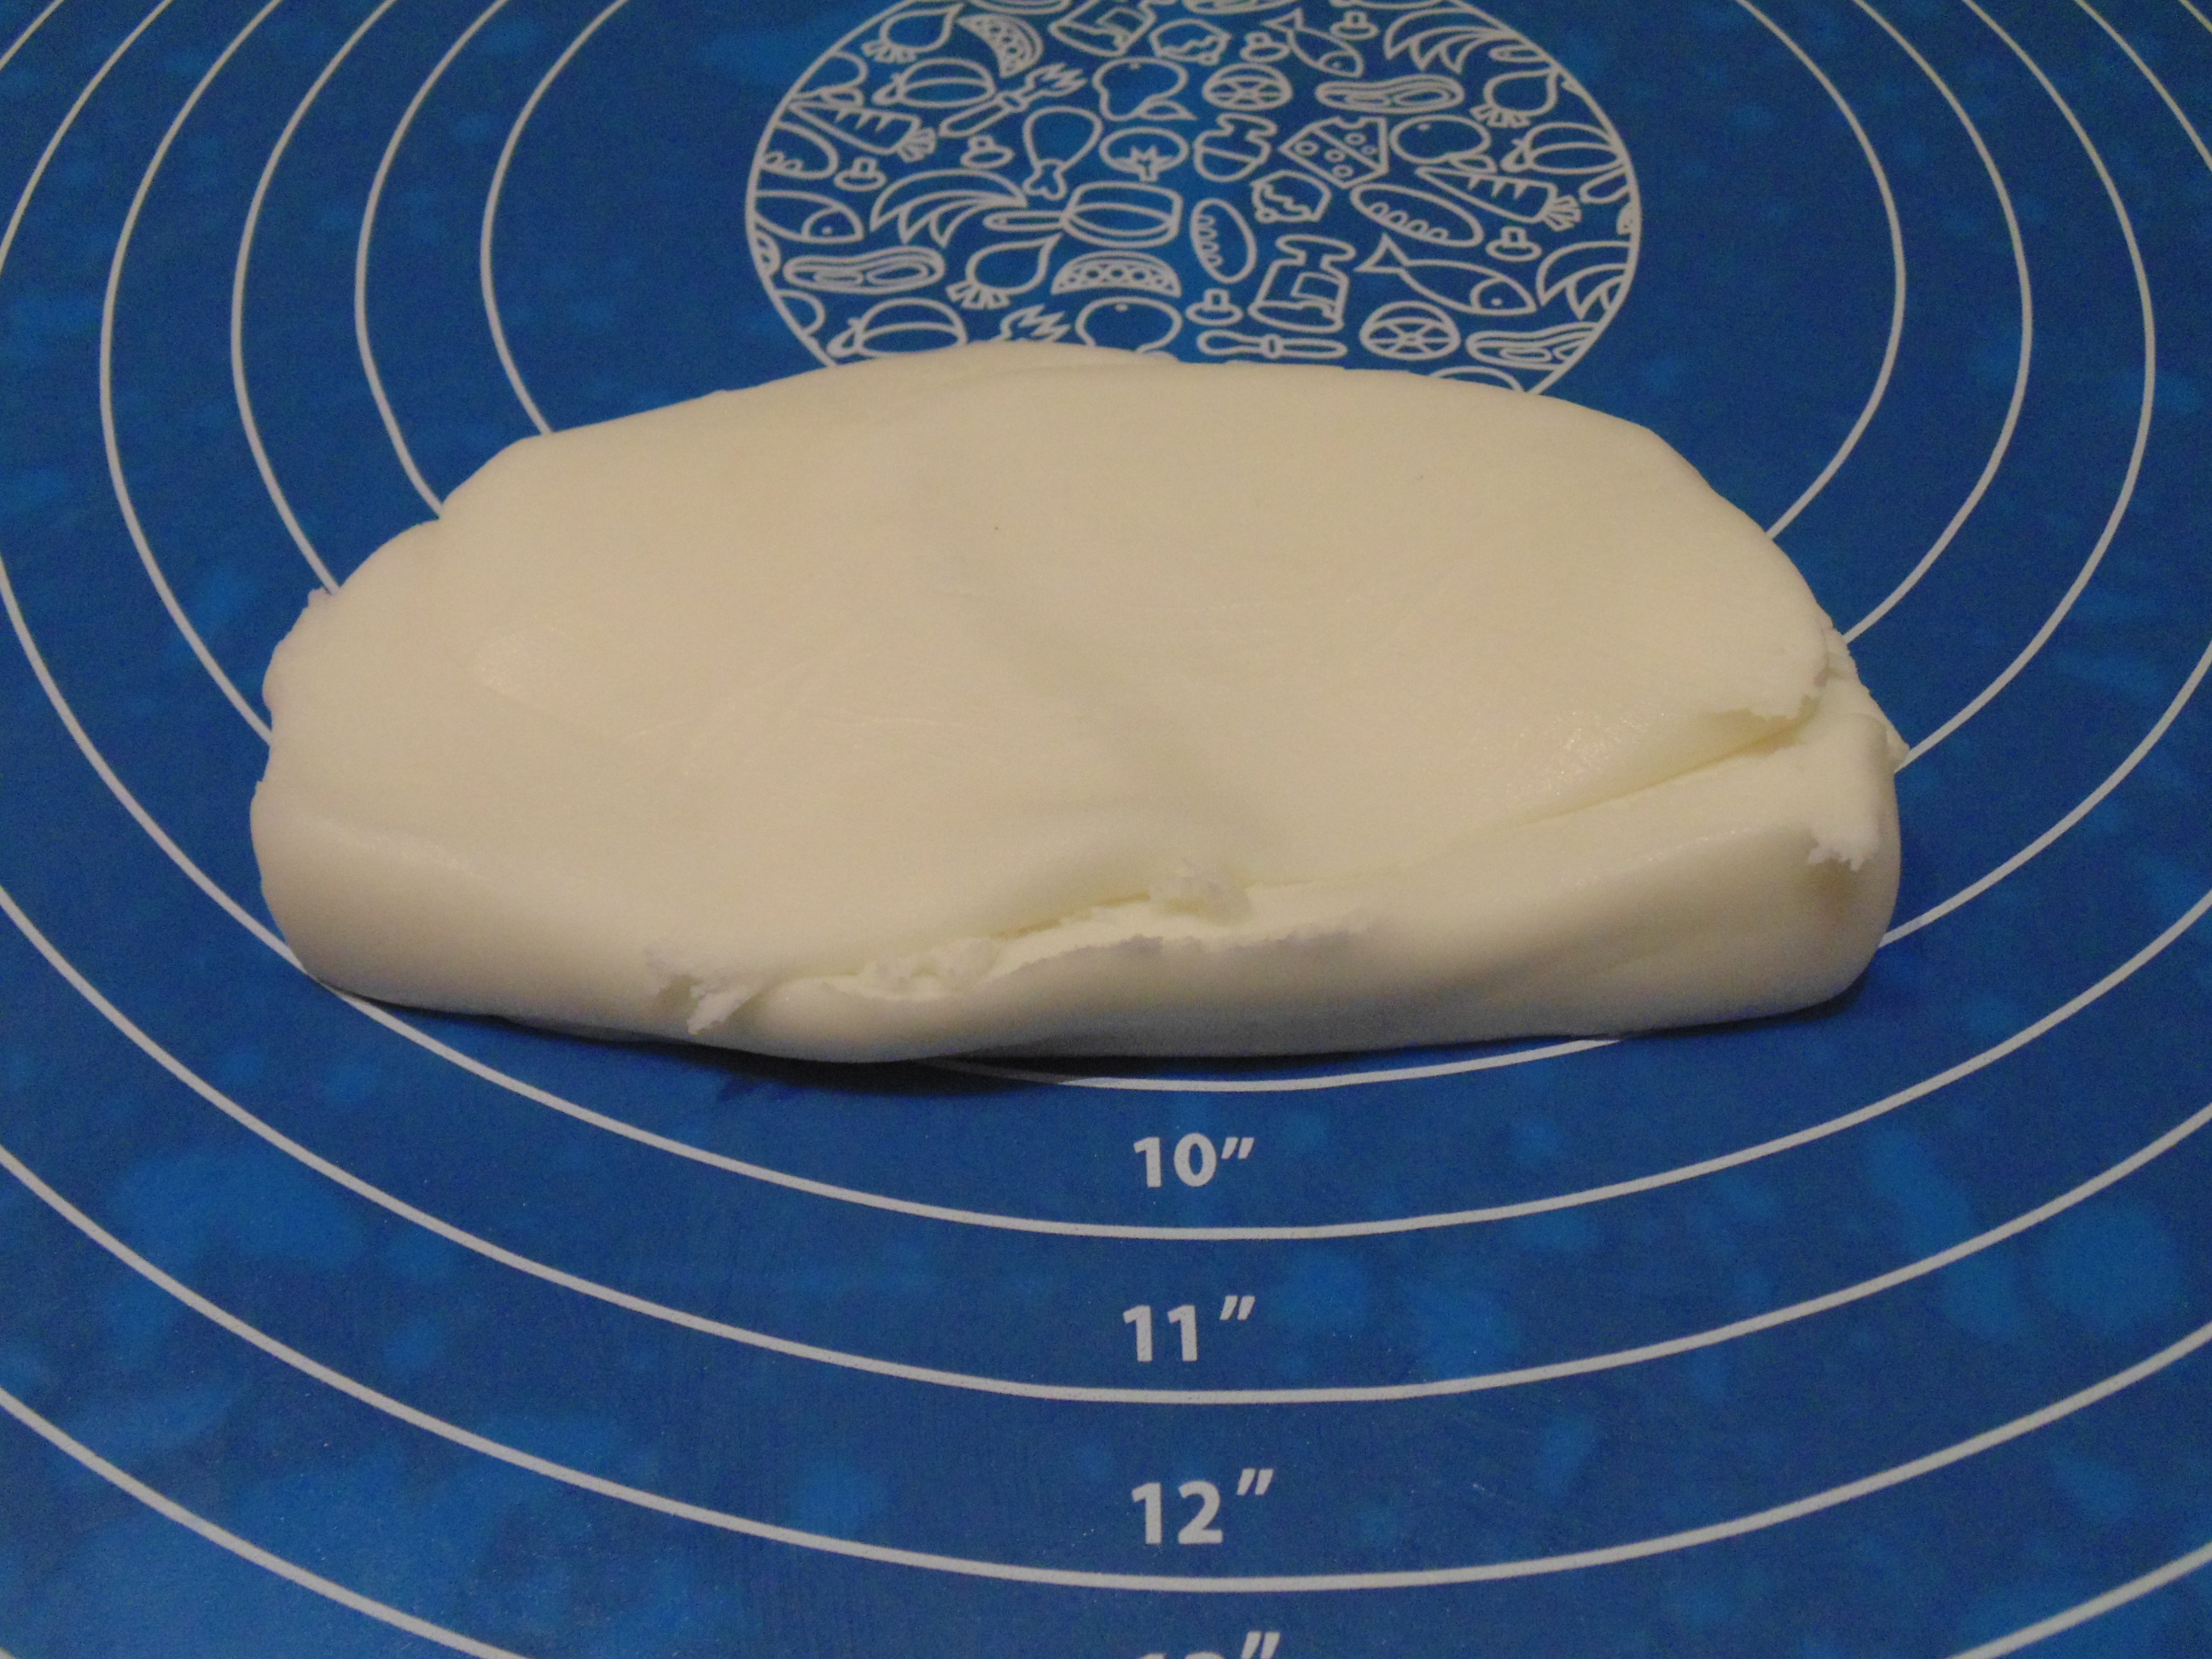
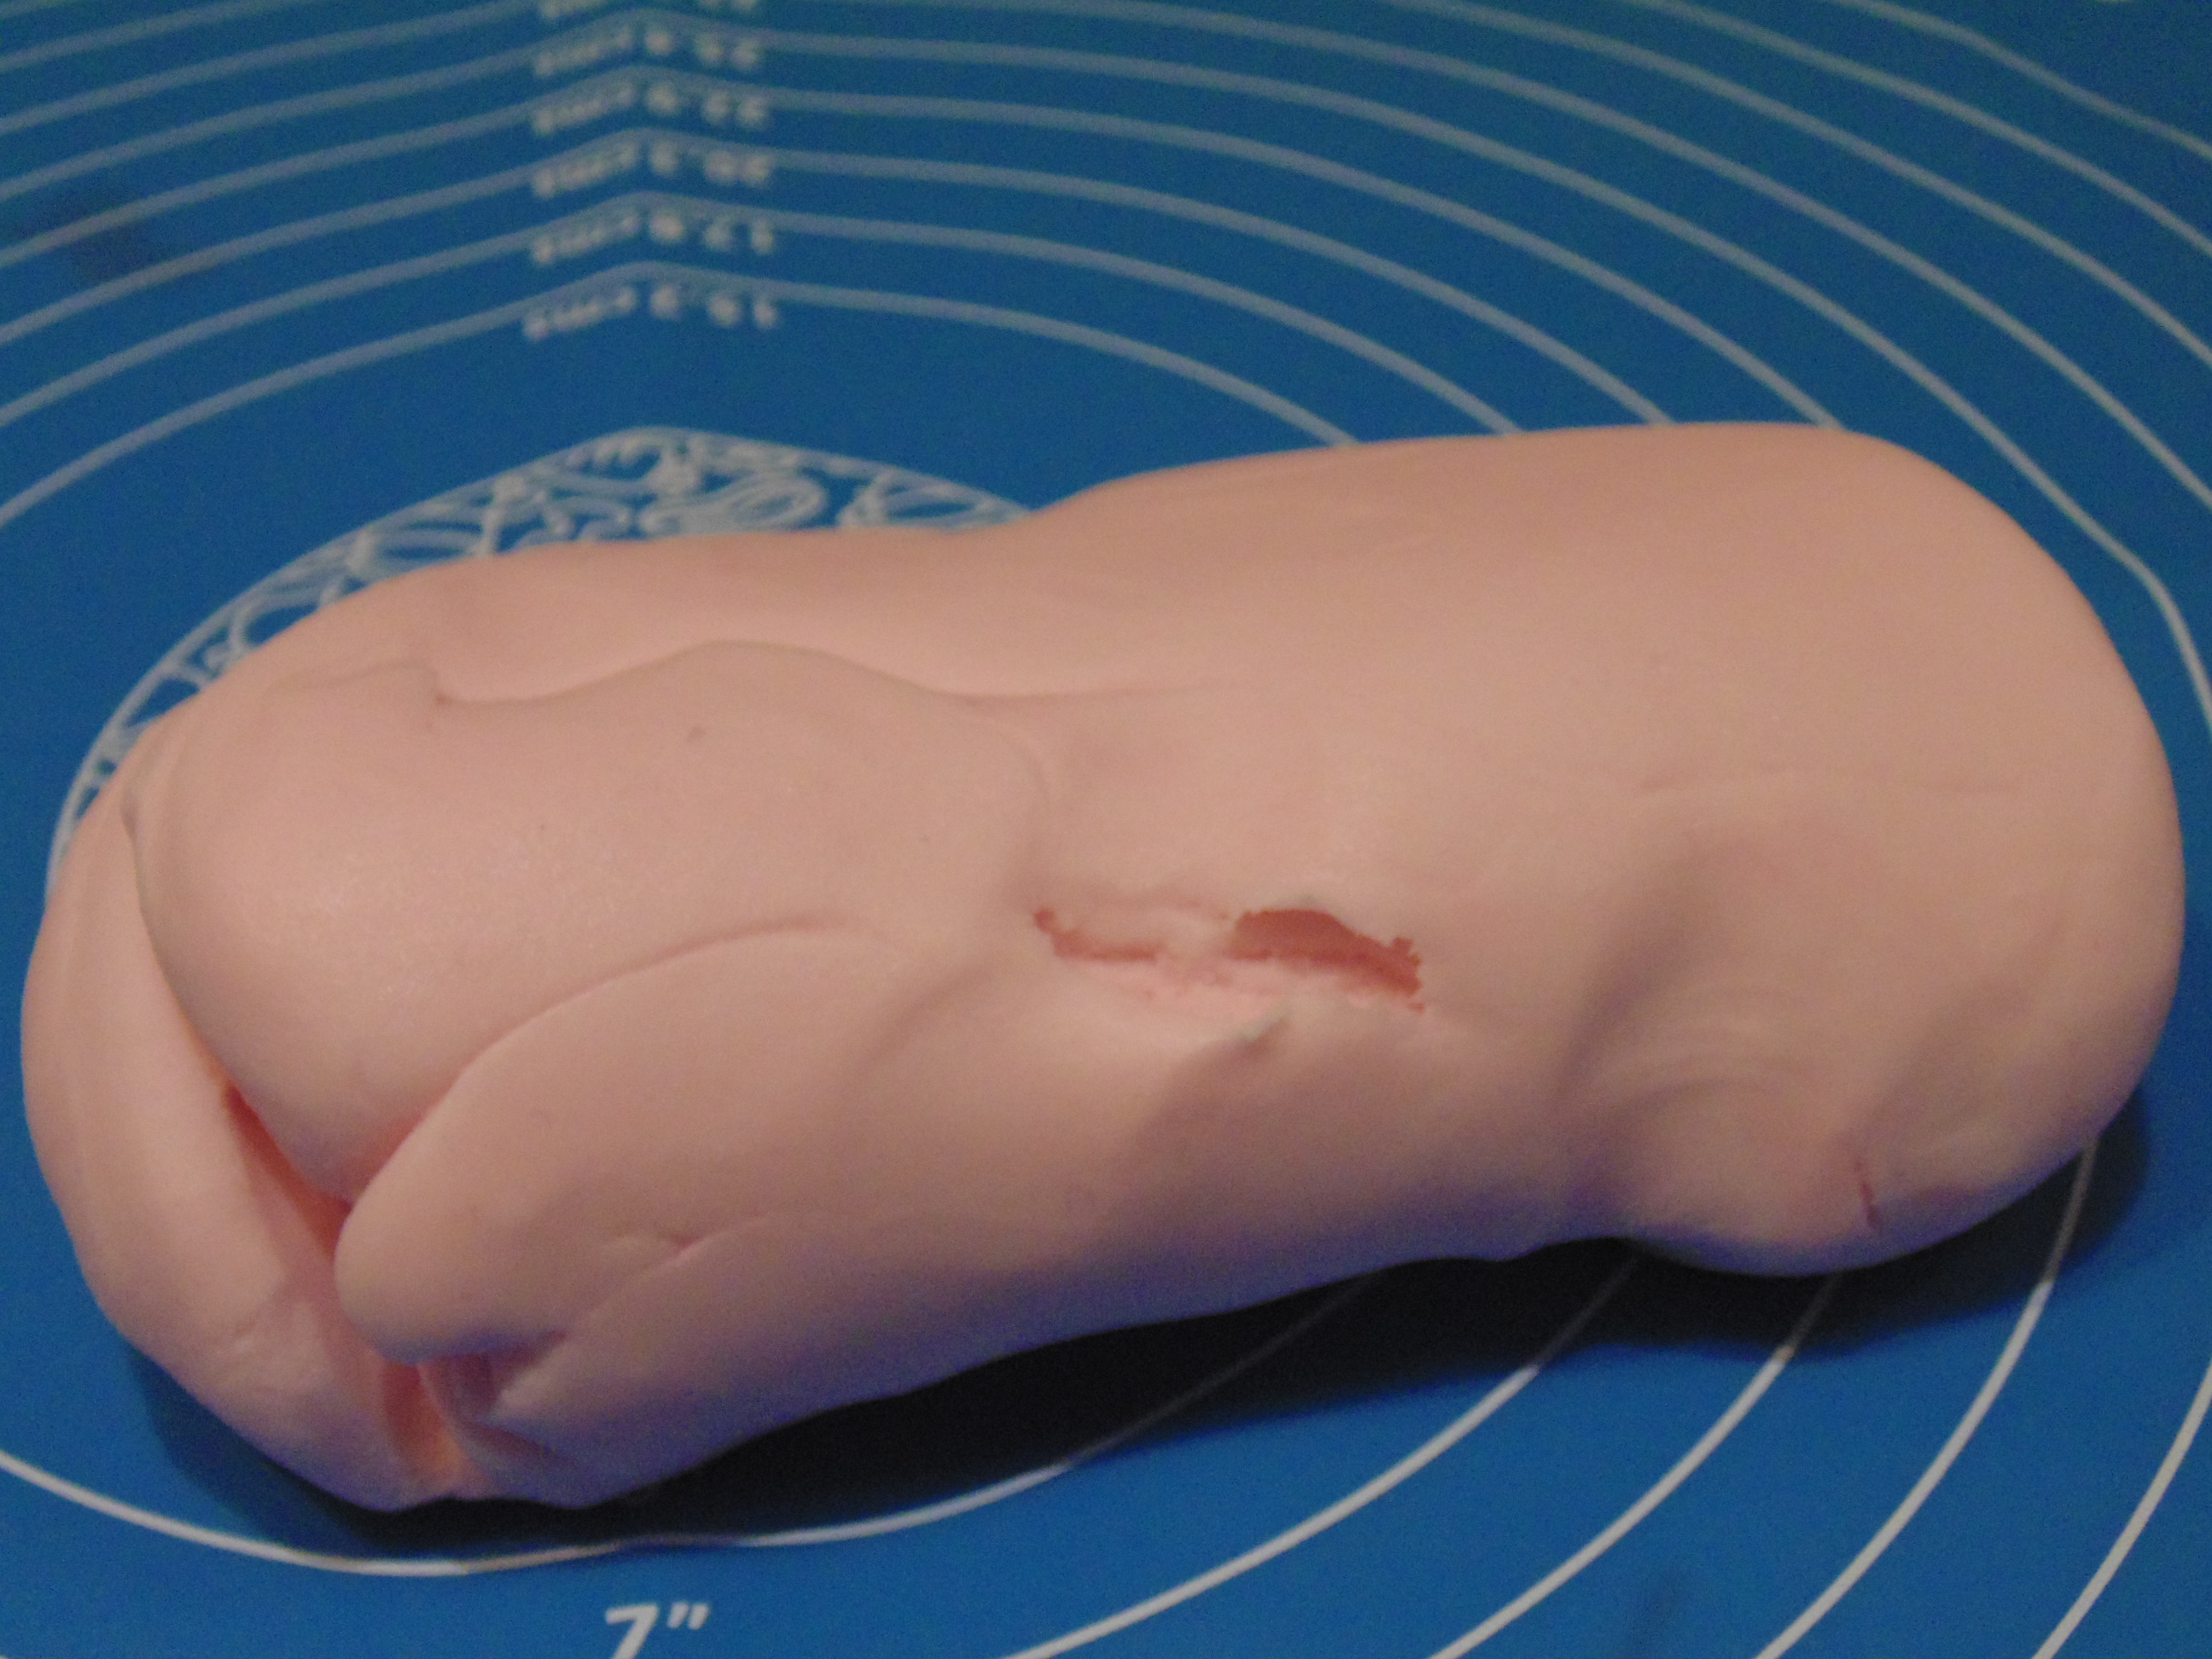 I use a mat to roll out the icing as the circles help act as a guide. You can also get a special rolling pin for icing, the icing doesn’t stick to it as much. Roll the icing out to allow for covering the cake and the sides then roll it onto the rolling pin. Place the cake underneath and lay the icing over the top. Pull out the sides and smooth them around. Don’t let it crease around the sides. If it looks like there will be a crease pull out and gently smooth the section down again. Cut off all excess and smooth the edges. Any excess that does not get any butter cream on it can be saved, just pop it in a freezer bag and keep it airtight in a cold place.
Next you need about 400g of sugar paste icing and blue food colouring (if it’s for a boy). Keep adding a little at a time and mix well. Roll out the icing in the shape of a rectangle make sure the side that will be at the top of the clothing (over the middle of the cake) is straight and then cover half only of the larger cake round over the top of the pink layer. Cut off excess and smooth out the top sides and bottom.
Excess pieces of pink sugar paste can be used to make feet, ears and a nose. You can even add arms if you like. Add a little extra pink colour for the icing that will be used for the mouth. You can colour sugar paste to make it black but this takes forever, trust me I’ve tried it. The best thing to do is get a premixed black icing and use that.
The end result:
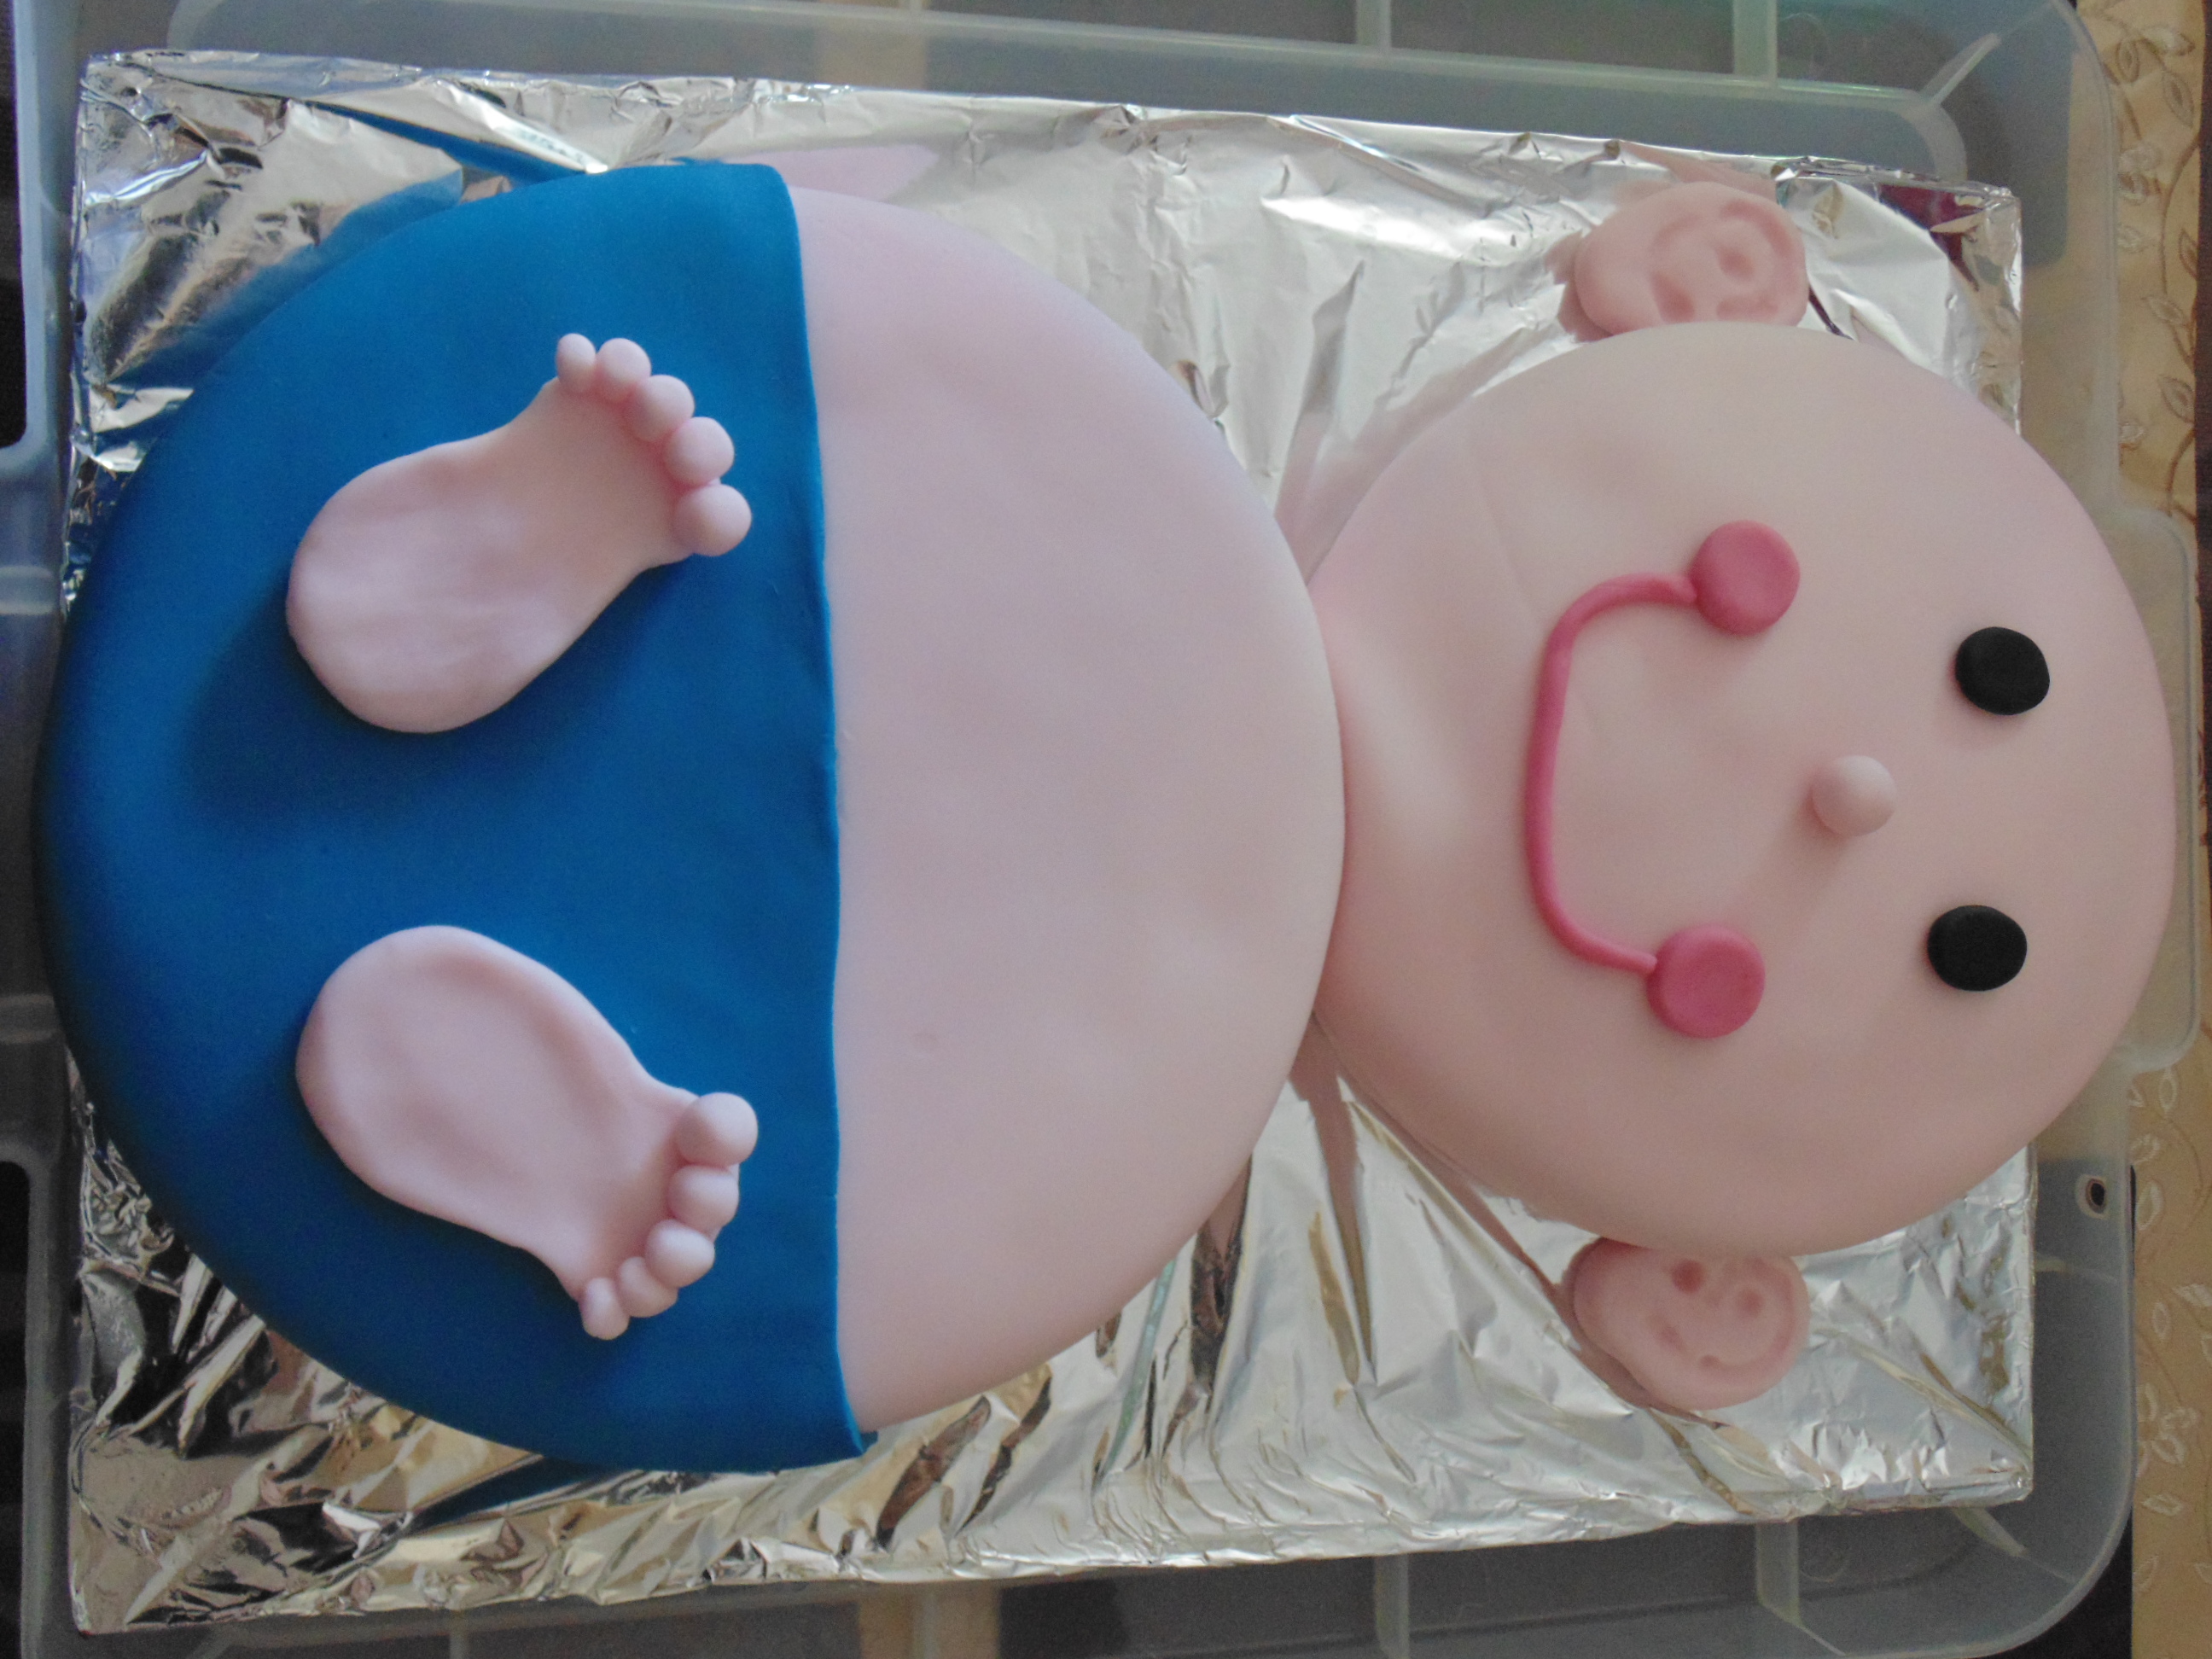 When putting the two rounds on the tray I placed the head first then the body and pushed the body towards the head the pressure seemed to raise up the icing at the bottom of the head to form a little chin.
This is a simple cake to make. The hardest part is rolling the icing to the right size and getting it to cover the cake nicely but with a little practice anyone can do it.
This is NOT a sponsored post.

Discover more from Melanie's Fab Finds
Subscribe to get the latest posts sent to your email.
My friend has literally just gone into labour, this is my present sorted … alongside the 30000 other things I may have bought! lol xx
Have fun making it, tweet me or post a photo of the cake when it’s made. We would all love to see.
Love this cake! I’m not the best at baking but you make this look achievable. Thank you!
Thanks Megan, It’s really simple to make. I think my first ever sugar paste cake was one of these.
What a lovely cake for a Baby shower! It looks fairly straight forward to make but still looks very impressive!
It does doesn’t it, but that’s the beauty of this cake. Well and the fact it tastes great 😉
I love baking and cant wait to try this!! so lovely!!! xx
Have fun baking 😉
looks great! may try this myself xx
Have fun. Don’t forget you can vary the colours to!
Wow, that is an amazing cake! I have not really used ready to roll icing before, but it sounds pretty easy.
It makes cake making easier altough I haven’t used it I normally colour and roll my own.
This is much easier to make than I 5hought
Might give this a go as my neice is expecting her first baby soon
Have fun baking, it’s a very simple cake to make x